Author: Emilia Knabe

Mori – Exploring the moiré effect

IMG_2992

Mori

Mori is an object that explores the unknown. Asking the question what is the unknown in our times I came across the digital world and the GIF (short for Graphical Interchange Format) as a kind of visual epitome of it.
The digital surrounds us every day in our hands by the way of smartphones or on screens on our way to work, but only few know how the technology behind it really works.

Porcelain on the other hand is an ancient material used in craftsmanship which use originated in China over 2000 years ago. It is known for its delicateness and exclusivity and has little modern character to its reputation. Contrasting these two sides of the digital and the material of porcelain, I  asked myself how the flickering moiré effect of the GIF can be transferred to porcelain. I find it interesting how the haptic depth can be created in two dimensions with this effect and
applied the same concept to an object made from a traditonal craft.

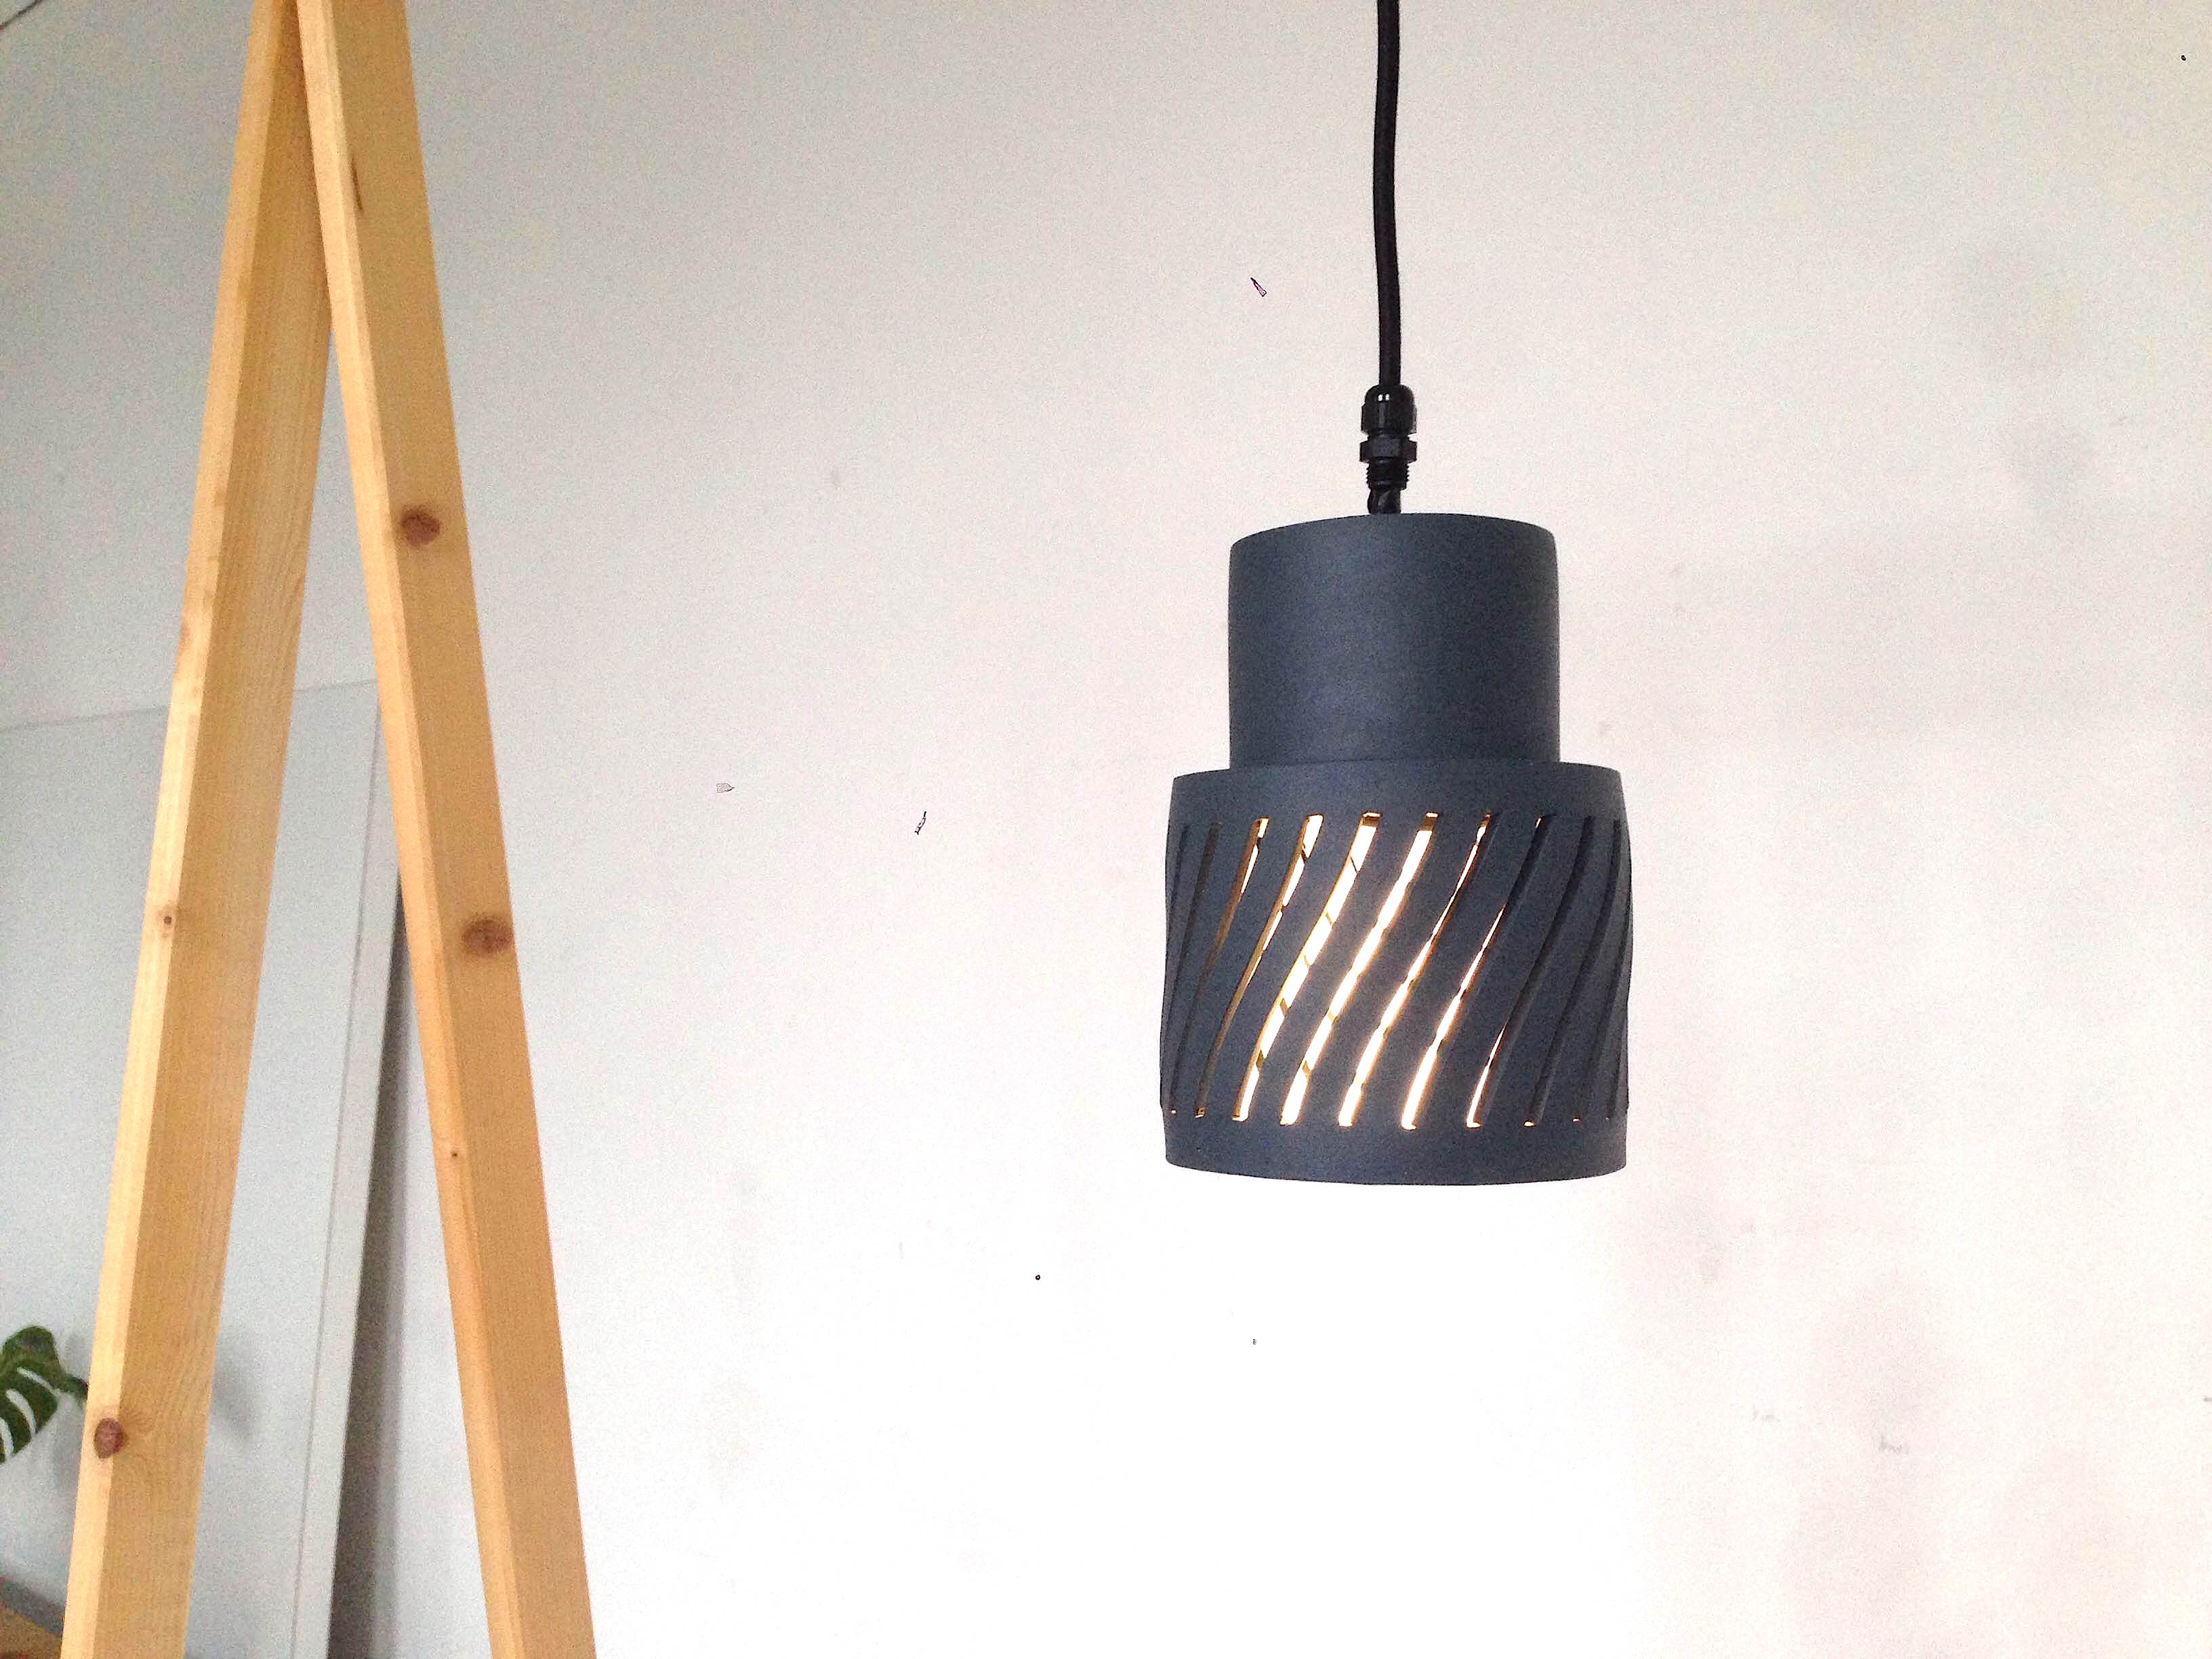
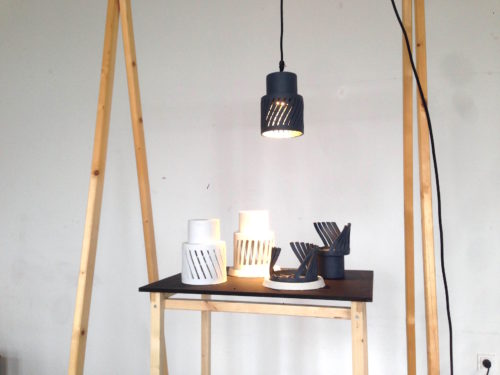
The name Mori refers to the moiré effect as well as to the latin word „mos“ which can be translated as custom or ritual. Whether used as a lamp, as a hanging or standing object, Mori encourages an interaction that combines the haptic and the visual.
IMG_4362IMG_3022

Form and Structure

IMG_2722

IMG_2666

IMG_2732

IMG_2009

IMG_2918

IMG_2734

IMG_2738

IMG_2794

IMG_2801

IMG_2802

IMG_2805

IMG_2807

IMG_2809

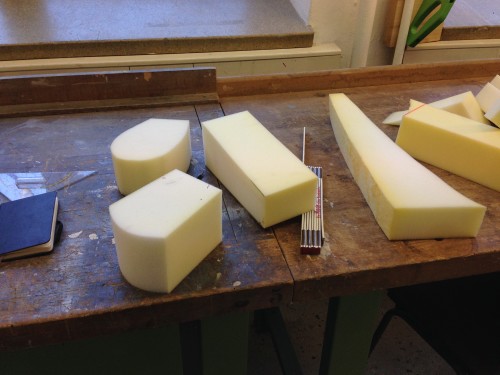
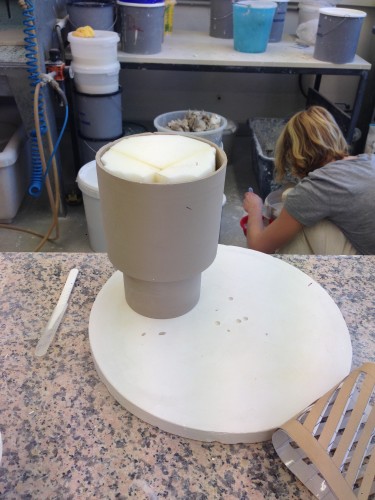
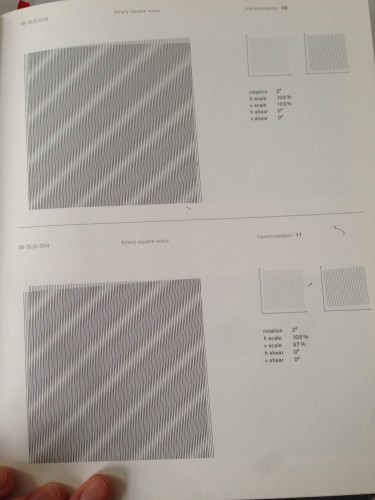
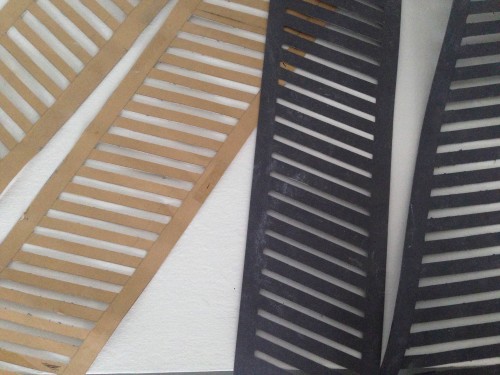
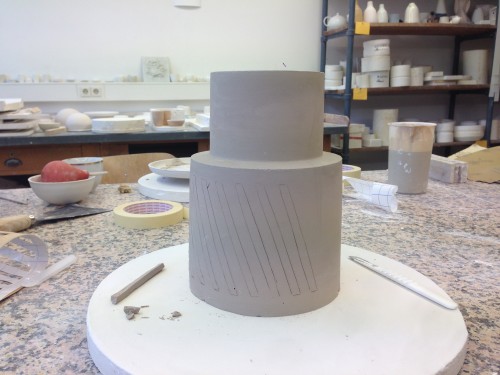
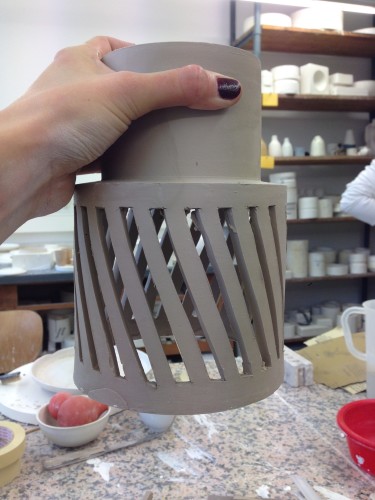
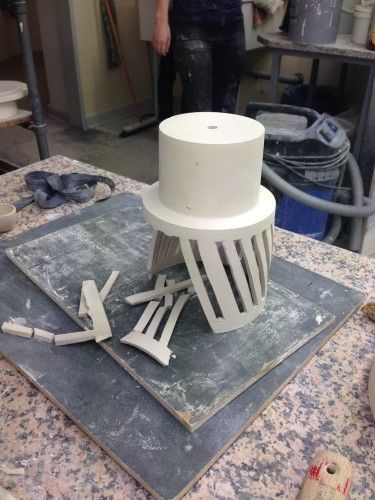
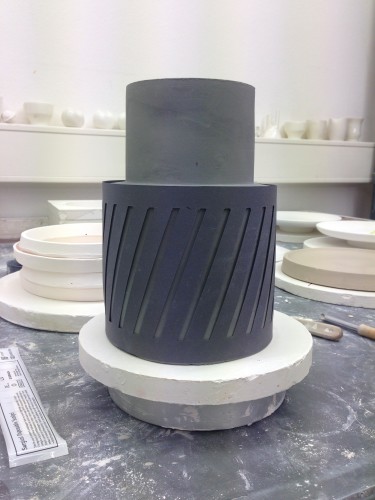
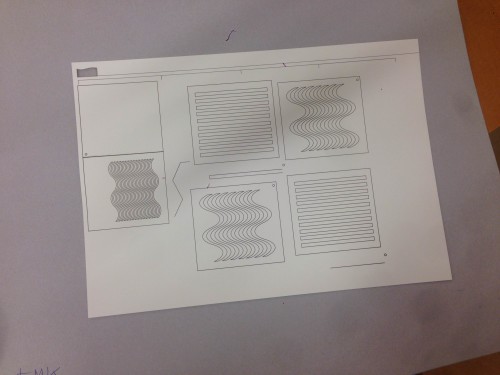
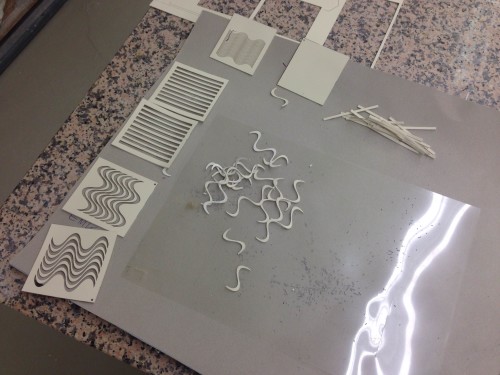
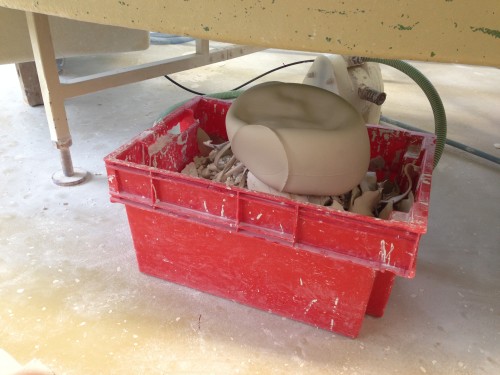
As first test, I started off with Limoges without pigments and tried out different grids inspired by Carsten Nicolais extensive catalogue of Moirè grids and their variants. I decided for Limoges instead of Montblanch or hard porcelain for its easier way of using it. The effect could be seen the best with more slanted slats with smaller gaps in between. It was a question of balancing the visibility of the effect and the stability of the form. I built a cutting aid of foam in order to keep the porcelain from breaking. I experimented with different cutting knives and found a stright bladed scalpel to be the most useful one.
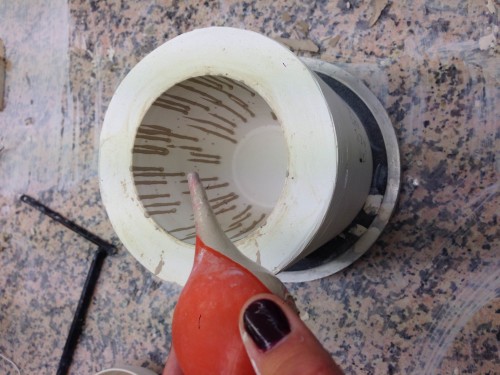
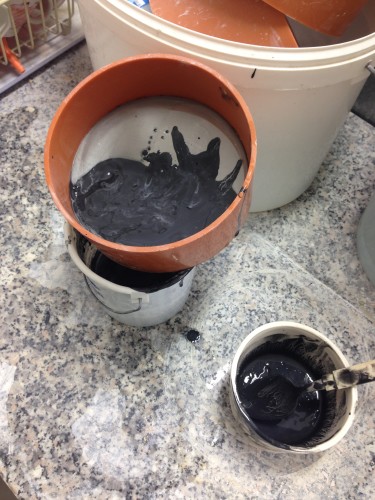
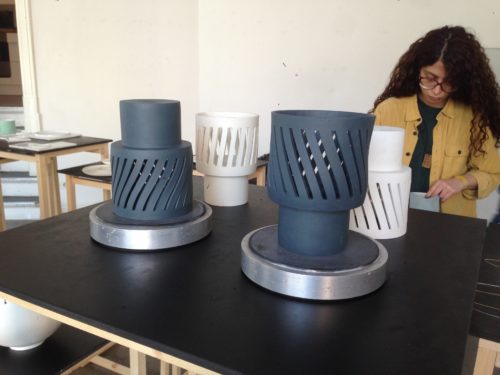
Relatively early in the process, I decided to use black pigments in the porcelain liquid in order to increase the visual effect and move away from the pure whiteness and therefore attached associations to traditional porcelain.


Making of the Plaster Form

IMG_2552

IMG_2591

IMG_2596

IMG_2597

IMG_2924

IMG_2637

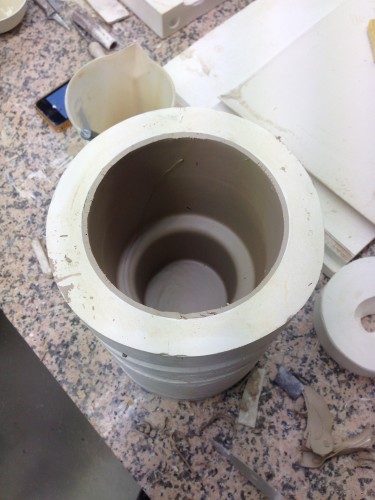
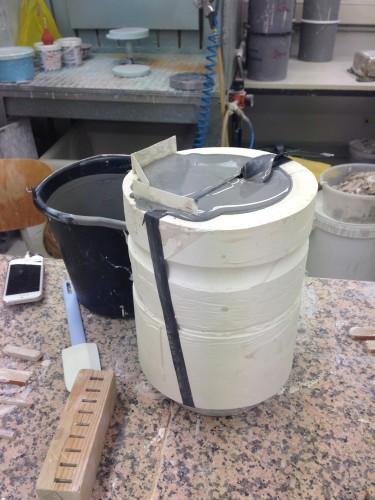
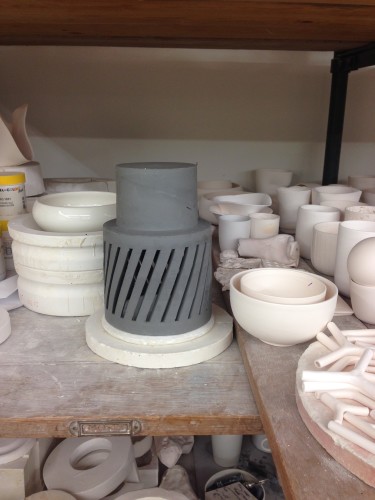
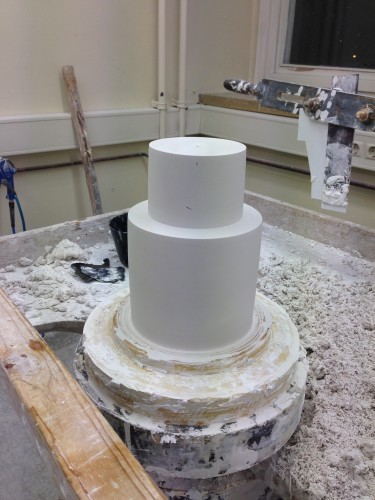
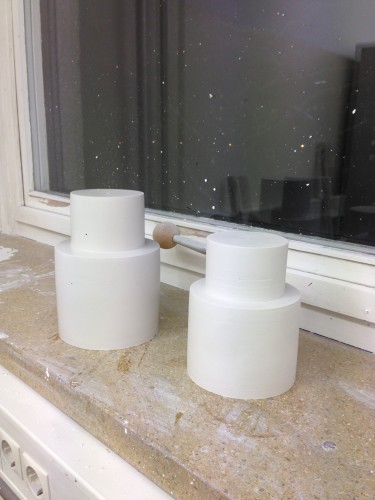
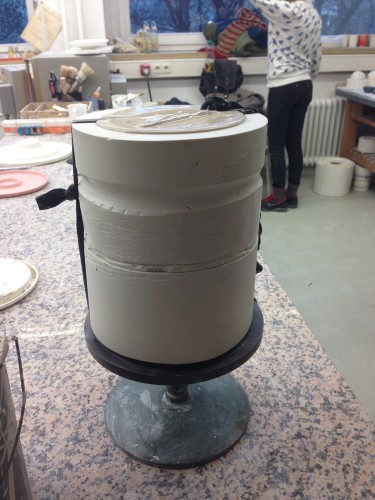
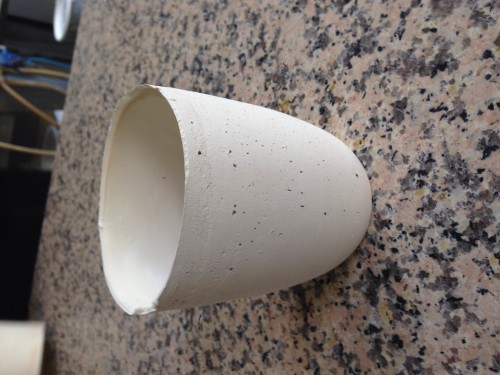
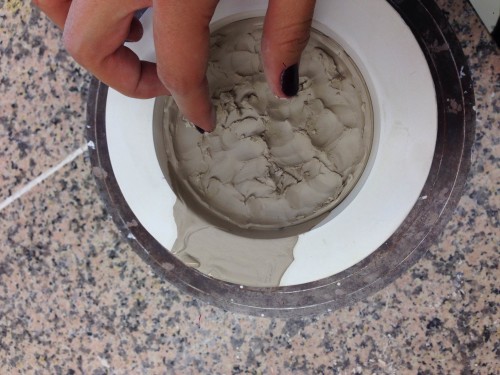
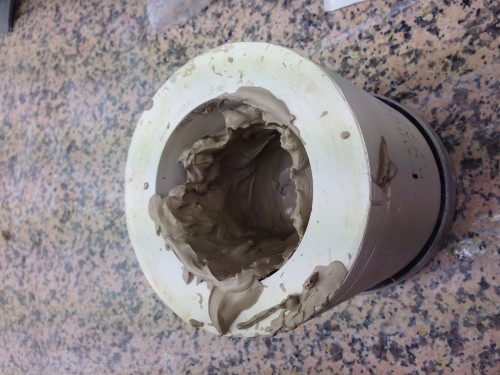
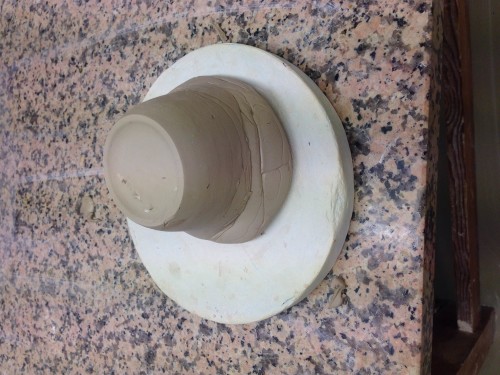
The difficulties that I encountered in making the negative plaster mold were that firstly the form was relatively big since the shrinking factor of 14% had to be added to the measurements so it was hard to handle and that I had to change the form several times in order to allow for a draft angle. I made a two piece negative form which made it easy to get out the porcelain piece after a few hours of waiting.

Form finding

IMG_2036

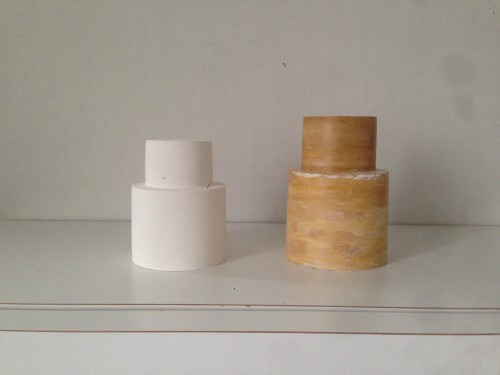
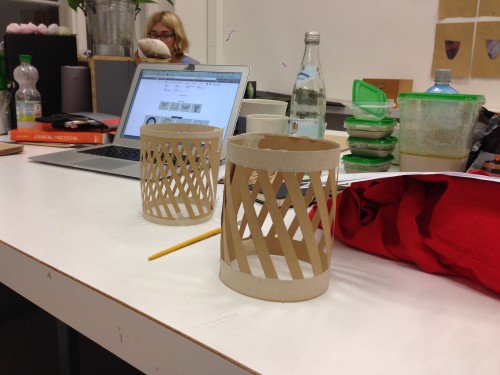
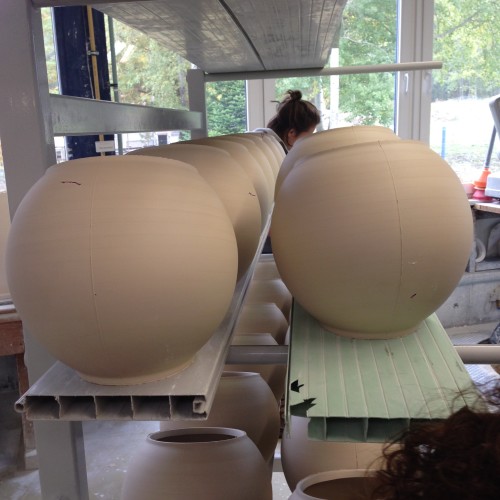
The form came into being by asking myself what would be the most suitable form for the structure. Since the moiré effect is achieved by overlapping two grids, I came up with a cylindrical form which encompasses the structure and is suitable for the material of porcelain.

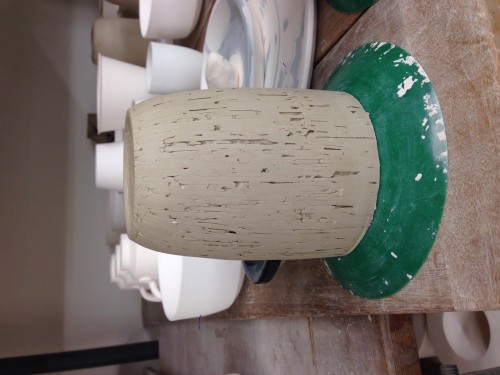
My initial idea was to make a vessel, an object which stands on the table and can hold pens and function as an organizing object. The visual effect would be reduced, however, so I thought further and came to the conclusion that it would make the most sense to make an object where the focus lies on the visual aspect, in this case a lampshade.

IMG_2039

First models

IMG_2515

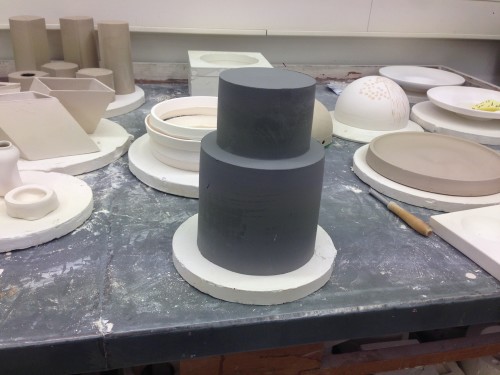
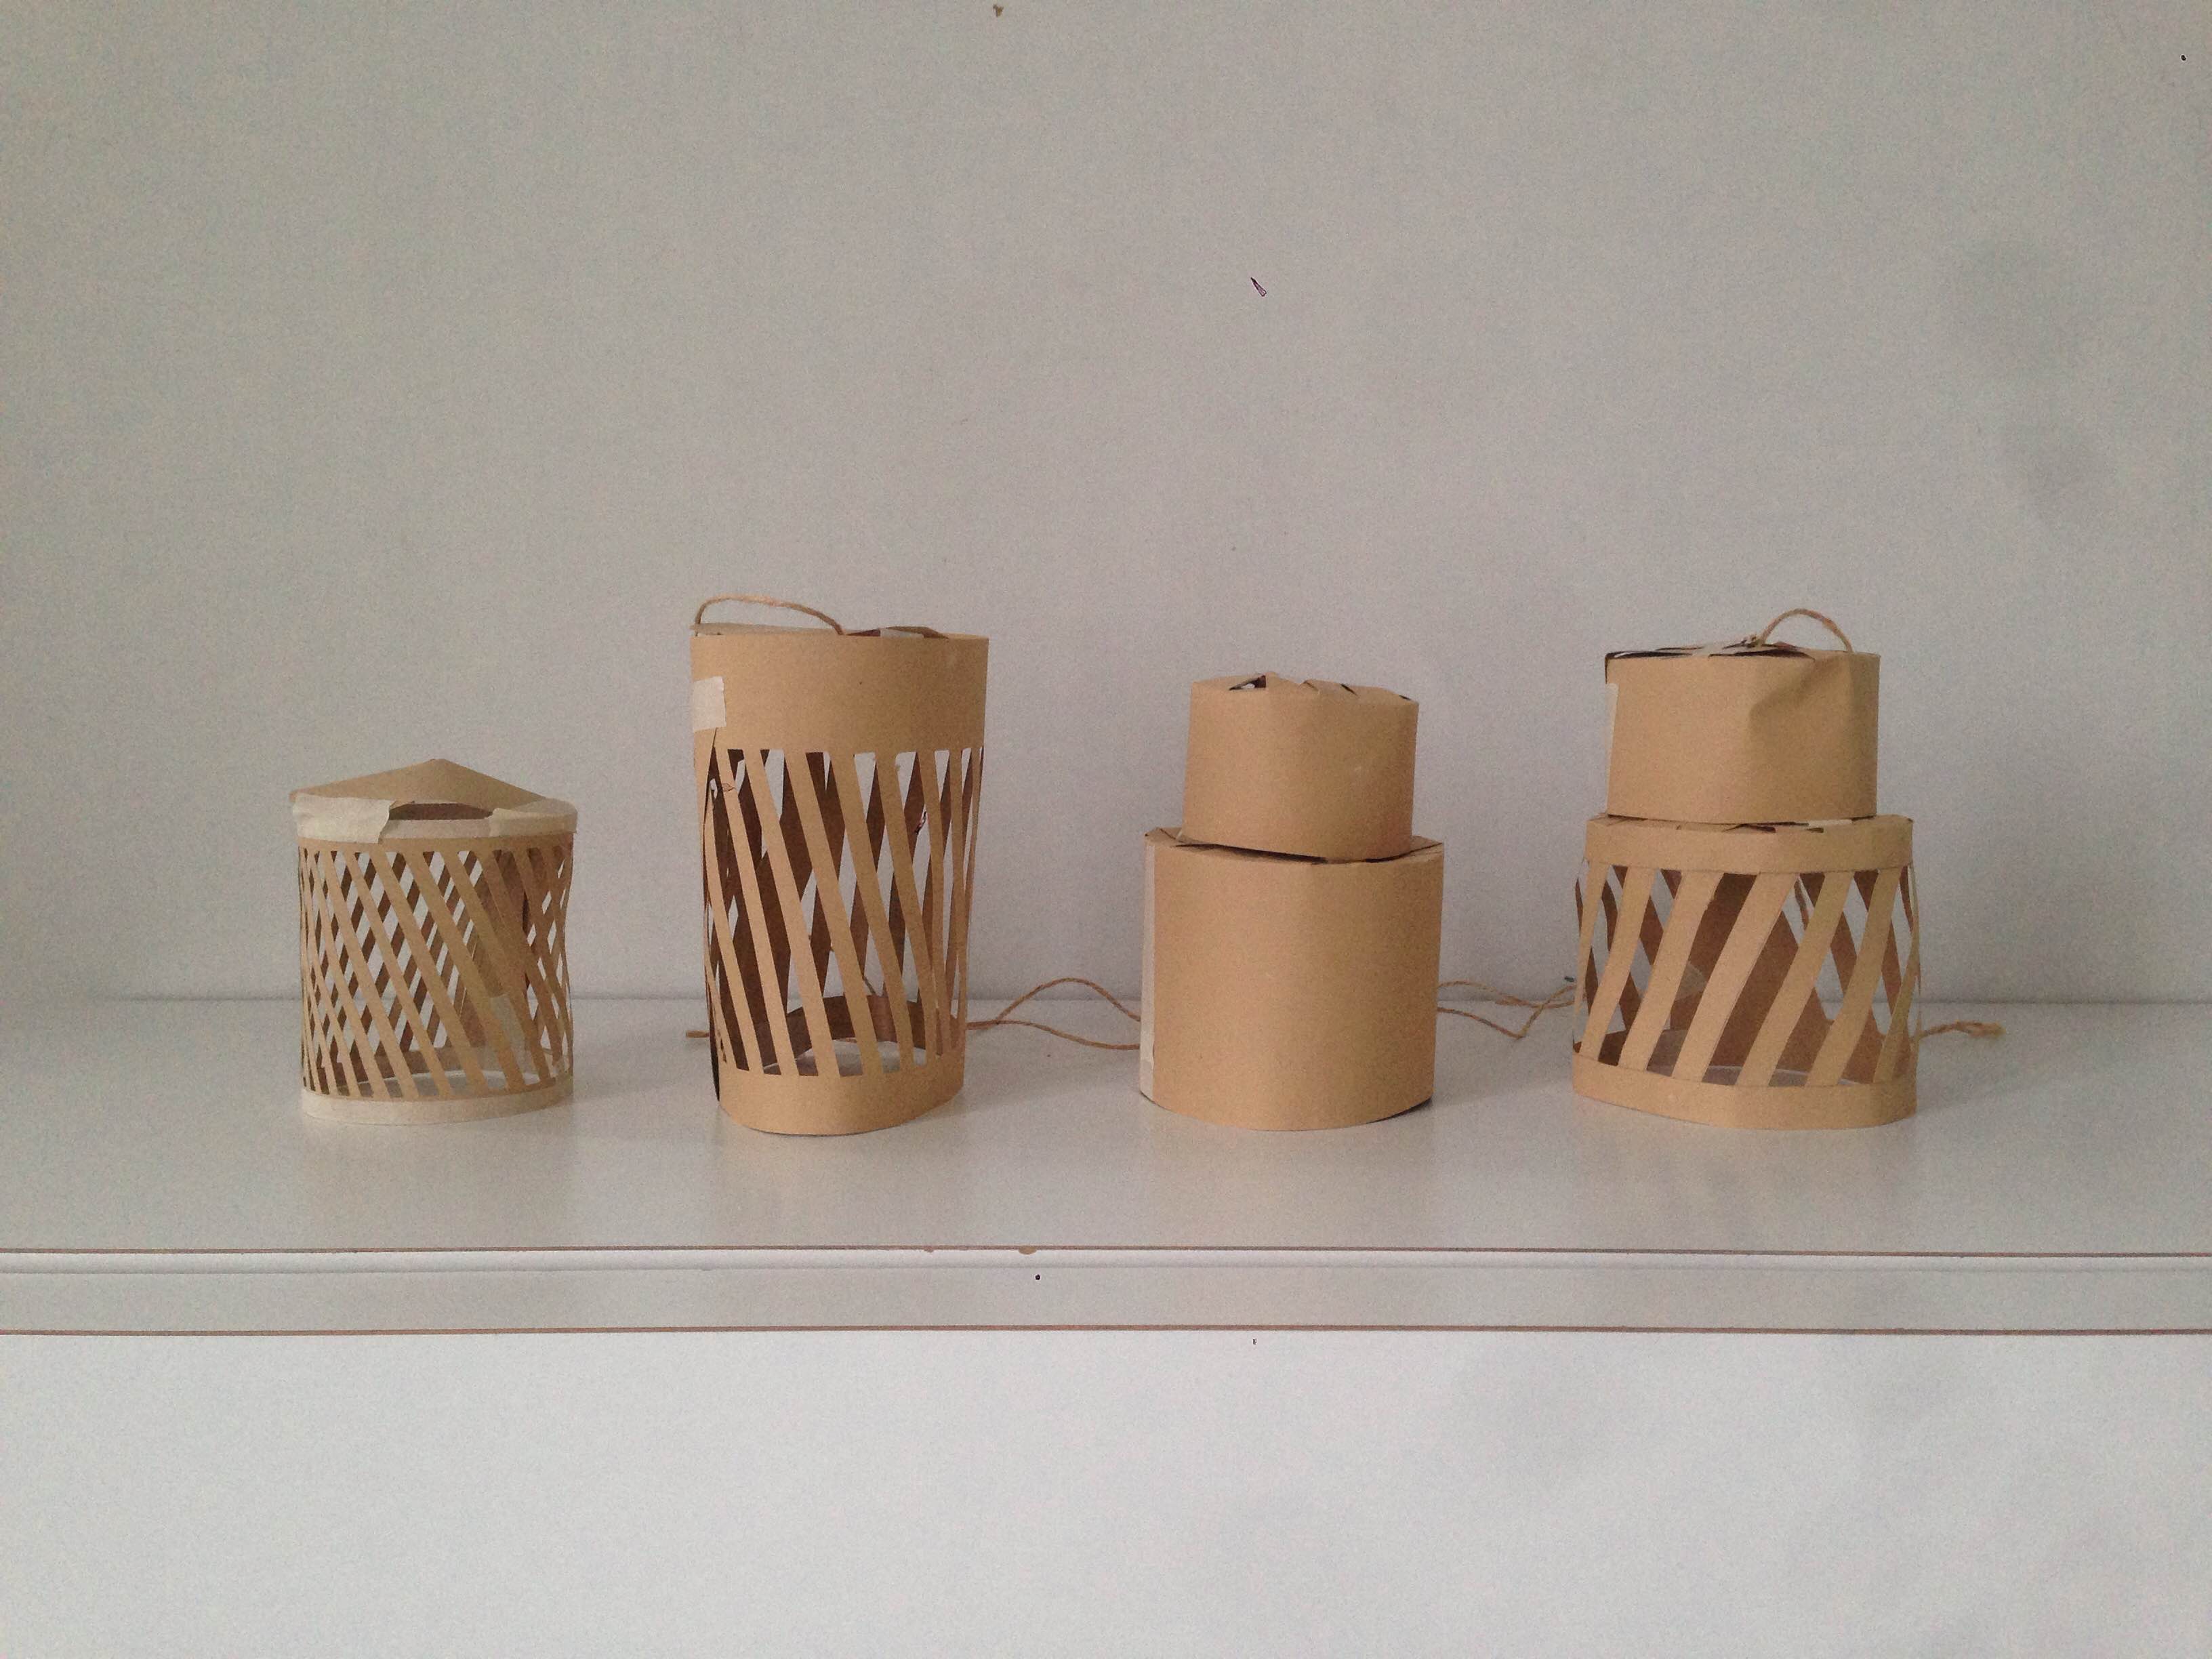
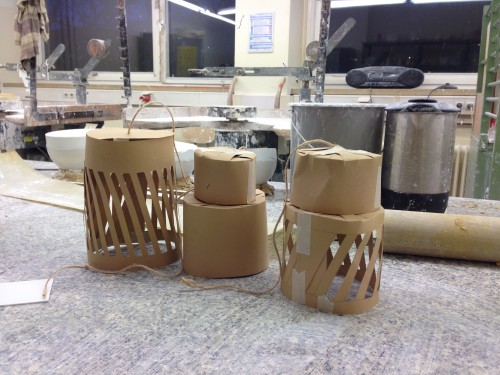
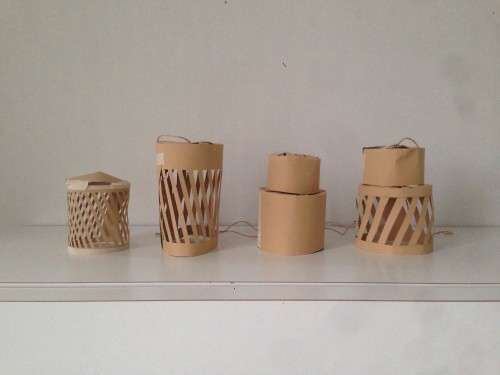
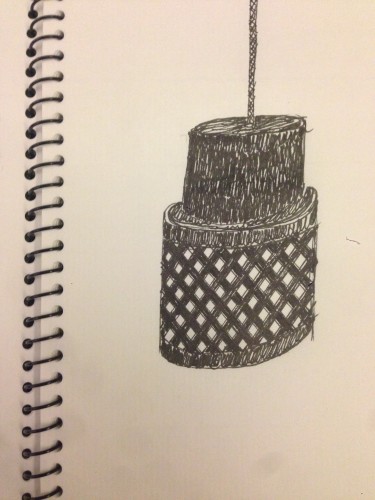
First lamp shade models: since I wanted to put the focus on the structure, I decided to hide the light bulb itself in the upper part. From a simple conical cylinder I arrived at the form of two stacked cylinders of different diametres since then the single stripes of the grid are parrallel and don’t become more broad at the bottom of the lamp shade.

IMG_2511

Deciding whether the lamp shade could be multi purpose for use as a pendant lamp and as a table lamp, I decided that the material of porcelain is too delicate to use it as a table lamp.

IMG_2922

IMG_2500


Lasered Porcelain Foil / Schellack Tiles

As one part of the experiment, I lasered tiles with different patterns on to porcelain foil of 1mm thickness to first create the Moiré effect in flat before going ahead to shaping it into a form. The effect could be seen already in a non-fired state. The challenge here is to keep them in a flat state after firing.

IMG_1659 IMG_1663 IMG_1718

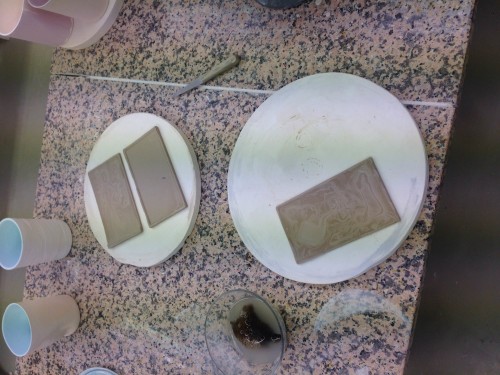
As a second experiment, I am using the Schellack technique to make grids on tiles. The difference here is that I am working with the translucency of the material rather than cutting out some of it. Going further, I will develop several shapes for an object depending on the outcome of the experiments.

IMG_1873

Experiments

IMG_0779

First cast of the plaster form.

IMG_0786

IMG_0790

Experiment to find out how quickly porcelain dries out

IMG_0793

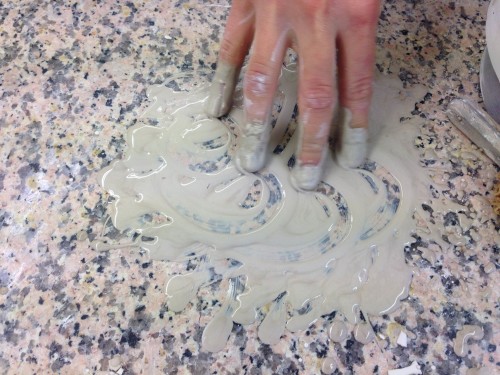
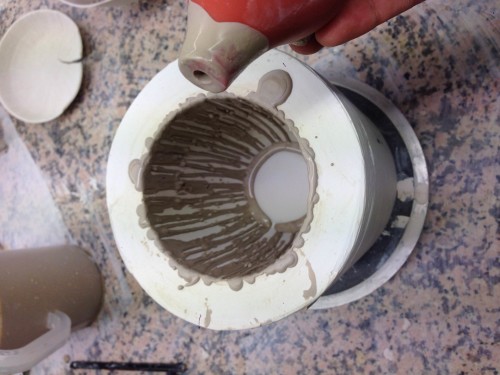
Experiment to fill the form with drops of porcelain liquid

IMG_0795IMG_0796


Experimenting with Baking Soda (80 grams for 1l of porcelain liquid)


IMG_1237

IMG_1238